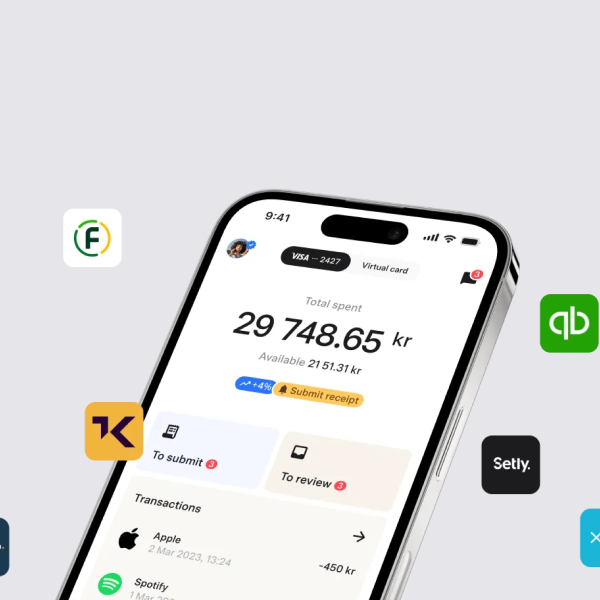
With a direct connection to your accounting system, you can reduce the time spent on administering expenses and receipts. Mynt integrates with the most popular accounting systems on the market, such as Fortnox, Visma and Business Central. In this guide, we will walk you through how to complete the integration.
Have you just started using Mynt and are ready to connect the platform to your accounting system? All you need to do is follow this guide and you'll be up and running. The connection only takes a few minutes, and if you have any questions, feel free to contact Mynt's customer service.
How to set up integration with Mynt
1. Authorisation and access
The first step is to ensure that you have the correct authorisation in each system to carry out the integration. In Mynt, for example, you need to be an administrator to be able to set up the accounting. Double-check that you have similar authorisation in the accounting system you want to connect to.
2. Log in to Mynt
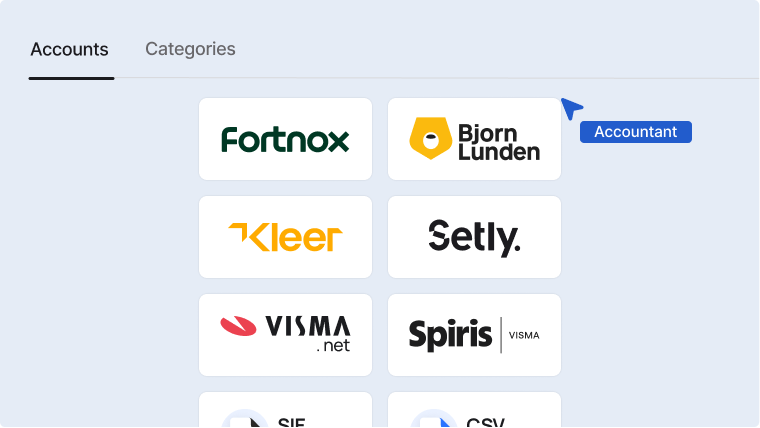
Log in to Mynt in your browser and go to Accounting & Export. Then select your accounting system.
3. Select accounts
After selecting your system, go to Accounting settings and fill in the accounts you want to use from your chart of accounts.
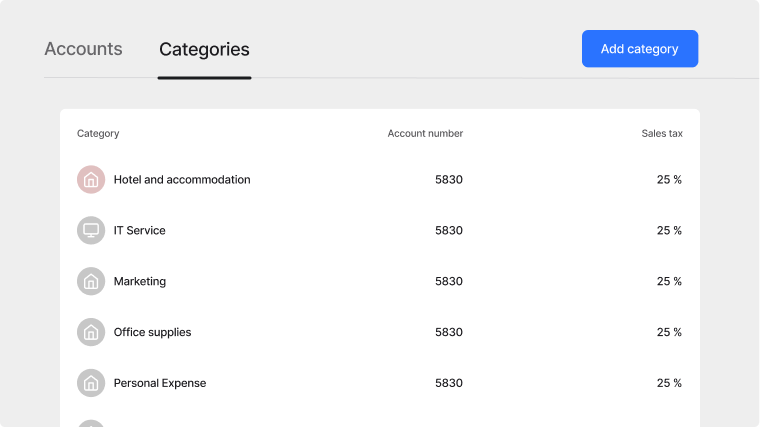
4. Define categories
Go to the categories tab and select the categories that suit your needs. Do you need more categories? Click on Add category and create new categories. Here you can add:
- Account number
- VAT
- Name
- DimensionsReverse VAT rate
- Participants
- Icon
Accounting systems with direct integration to Mynt
- Fortnox (requires active integration licence)
- Björn Lunden (requires active integration licence)
- Kleer
- Visma Spiris
- Setly
- PowerOffice
- Visma.Net
- Microsoft Dynamics365 - Business Central